Weta house instructions
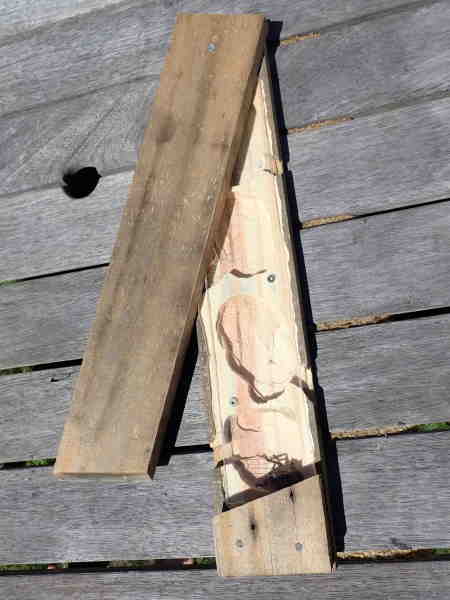
What you need
- Three planks of untreated wood. Whatever length you want (ours were about 40cm long) but one should be about 6cm longer than the other two - it will be the back and will make attaching to a tree easier (our picture above doesn't have this).
- Short nails or screws for joining planks together (if they’re too long they’re come out the other side).
- Sheet of clear plastic, a few mm thick. You can buy these from bunnings. If you don’t have a router it can be hard to put this in, so you can make do without.
- A couple of longer nails to attach the house to a tree or fence.
Tools
- Pencil or pen
- A saw. We had a drop/mitre saw but you can use a hand-saw or a circular saw.
- Router - if you don’t have a router you can make it without the clear plastic window.
- Jigsaw
- Drill and a range of drill bits
- Hammer & screwdrivers
- A craft knife or some other way to cut the plastic sheet
How to make the weta house
Cut two planks of wood to something like 40cm in length and a third plank that is about 6cm longer (the long one will be used for the back, the ends will stick out at the top and the bottom so you can nail it to the tree).
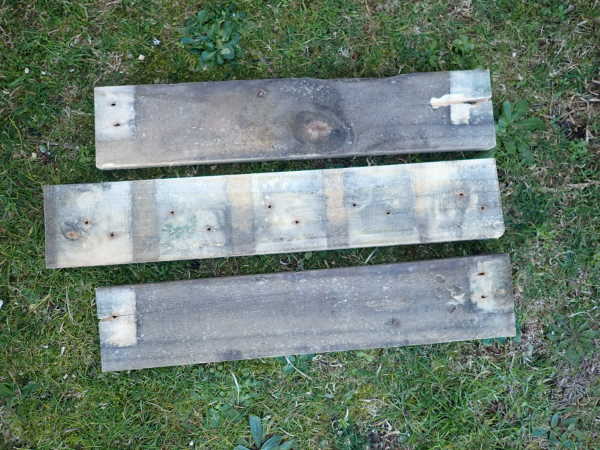
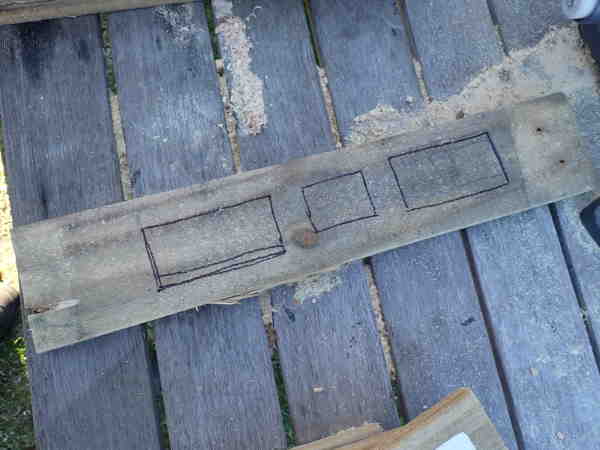
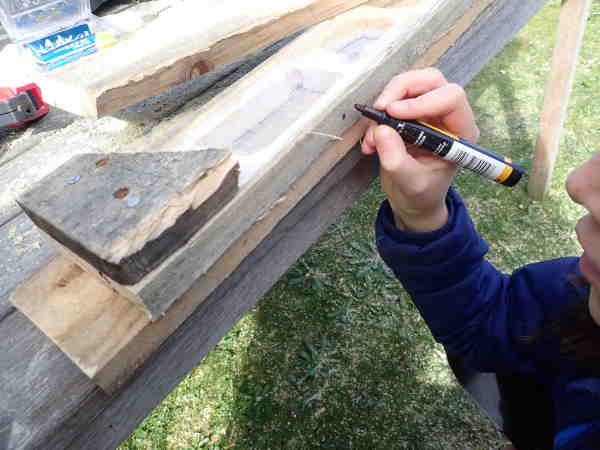
On one of the shorter bits of wood use a pen to outline where you want to make your cut-outs, which is where the wetas will live.
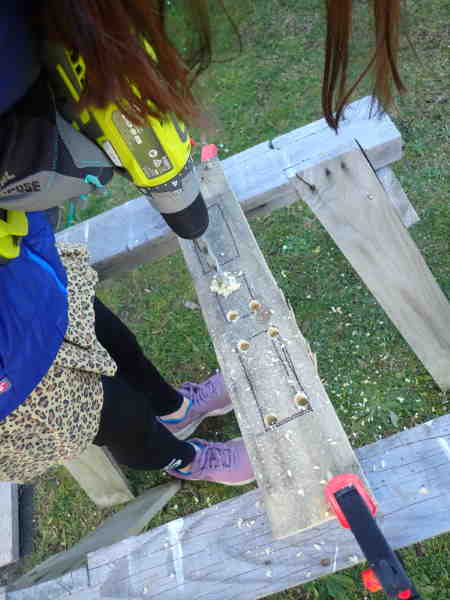
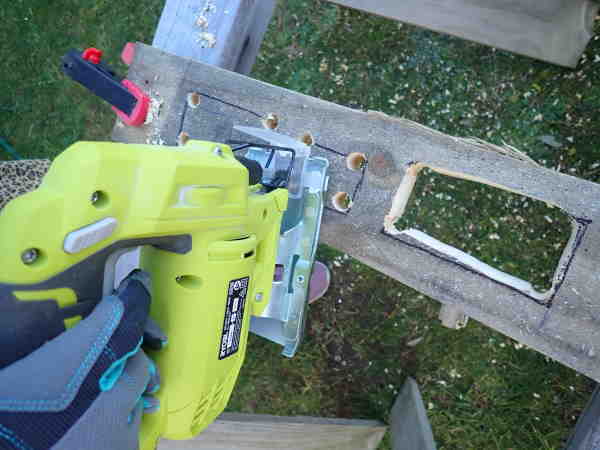
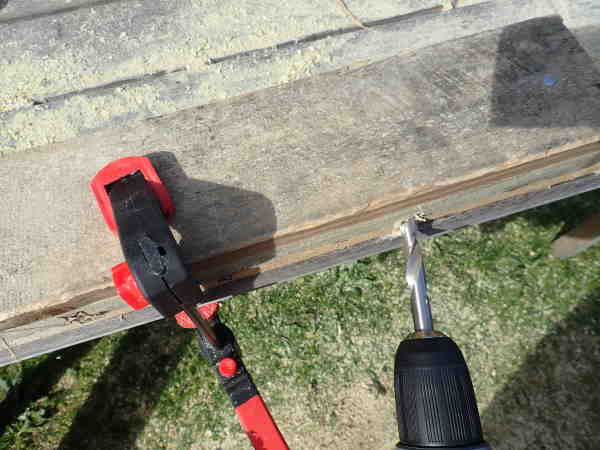
We're going to cut out the holes using a jigsaw, drill some holes so we can get the jigsaw in.
Use a jigsaw to cut out the marked area.
Nail (or screw) the bit of wood with the cut-outs to the longer bit of wood (place it in the center so that a bit sticks out the top and bottom - the sticking out bits can be used to nail it to a tree).
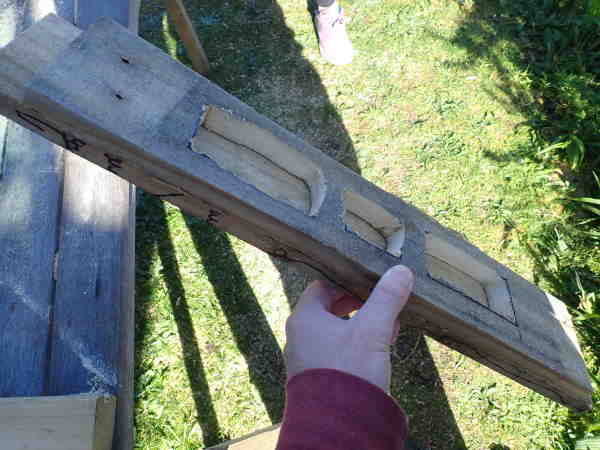
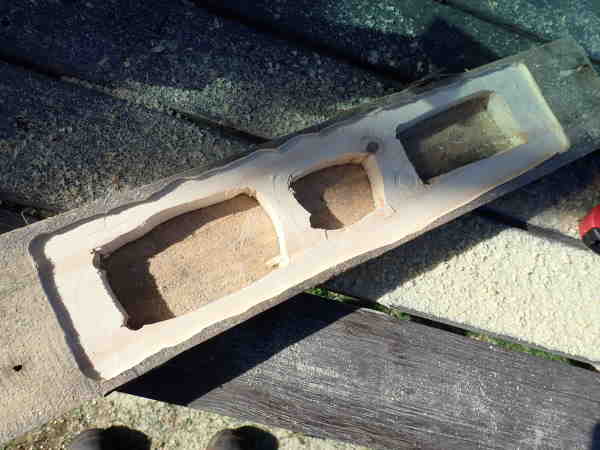
Use a router to cut out an indent that the clear plastic will fit into - if you don’t have a router you can build the weta house without the clear plastic window.
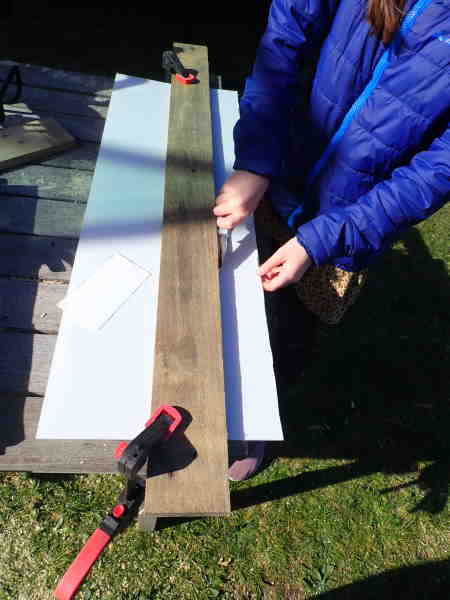
Cut the plastic to size. You can do this by putting a straight edge against where you want to cut and then scoring it with a knife. When you have a decent cut into the plastic, put it against a straight edge and snap it.
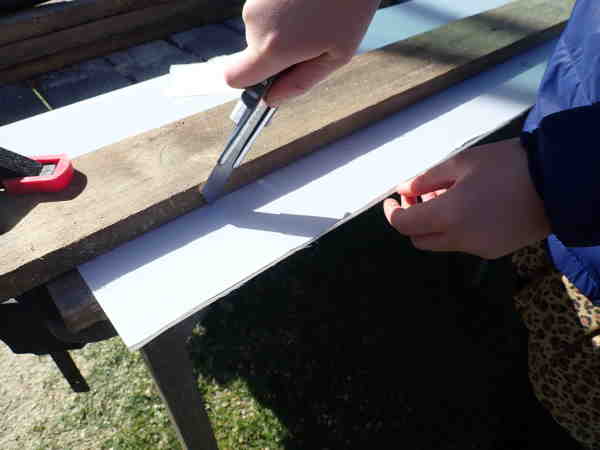
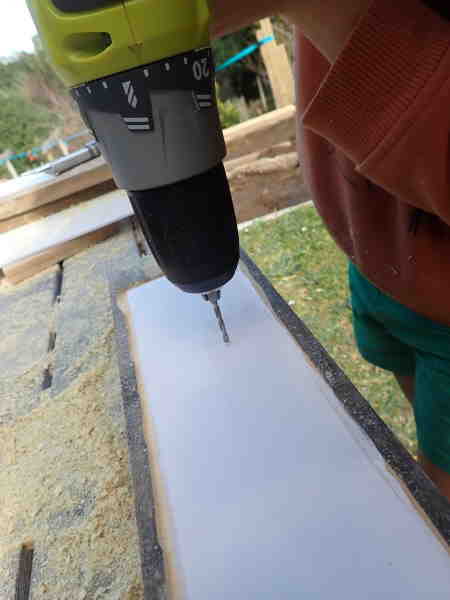
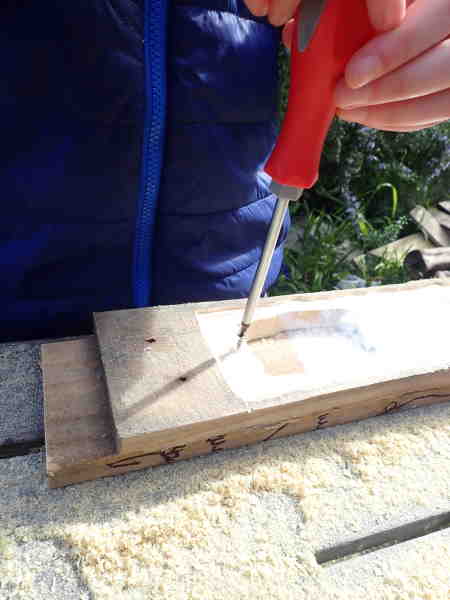
Attach the plastic to the bit of wood with the cut-outs in it. We drilled holes and screwed it in, but you could probably glue it. We also used a larger drill bit to drill part way through the plastic so that when it was screwed in the head of the screw was level with the plastic and not sticking out (which might stop the door closing).
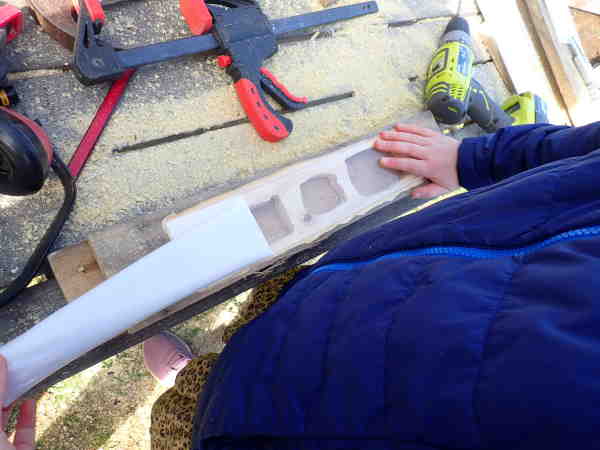
The last bit of wood is for the door and needs to be cut so that when it closes it holds itself shut. Cut it on two diagonals, both lengthwise and depthwise (check pictures to see what we mean).
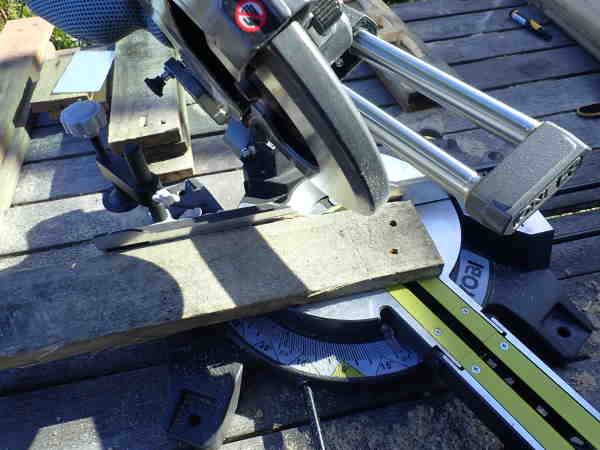
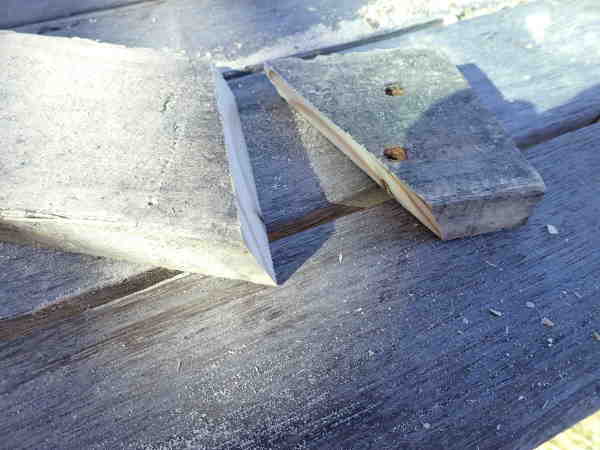
Attach the short bit you just cut to the bit of wood with the cut-outs so it doesn’t move (either a couple of nails or a couple of screws).
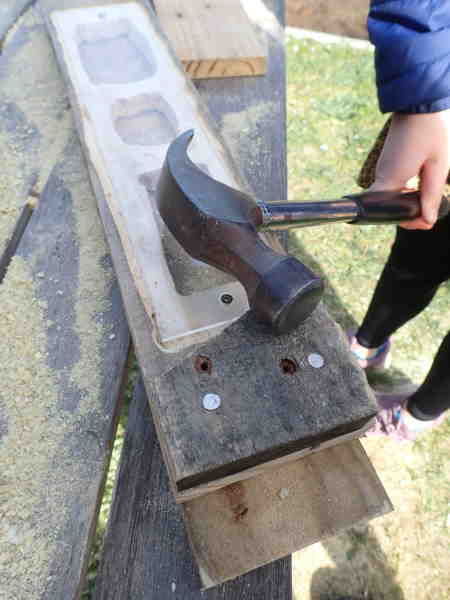
Attach the long bit you just cut (this is going to be the door) using just one nail at the top so it can swivel open. (We drilled a hole through the door for the nail first so that it swivelled easier - but you don’t have too).
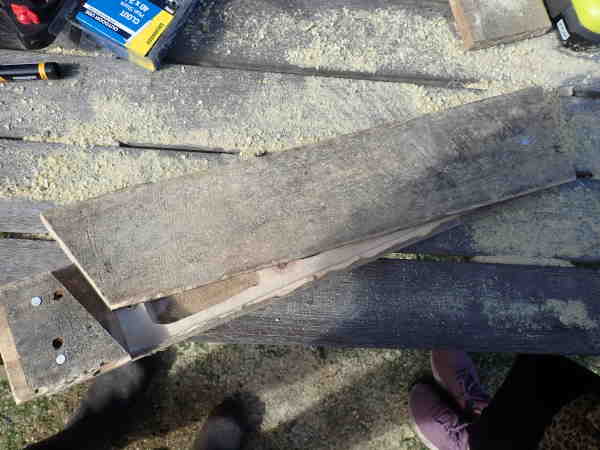
Drill some big holes (around 1cm) from the sides so the wetas can get in. The holes should slope up, so rain can’t get in.
Done!
